
* 네비게이션 뼈대코드 작성하기
npm install @react-navigation/native리액트에서 탭메뉴를 만들기 위하여 해당 라이브러리를 설치한다.
npm install react-native-screens react-native-safe-area-context리액트 네비게이션 라이브러리는 다른 라이브러리를 이용하여 개발되었기 때문에 관련된 라이브러리들도 설치해줘야 한다. 이를 의존성 라이브러리라고 한다.
npm install @react-navigation/native-stack리액트 네이티브의 스택 내비게이터는 새로운 화면으로 이동하면 스택처럼 위에 쌓고 (push), 다시 이전 화면으로 돌아가면 스택에서 최상단에 있는 화면을 제거하여 (pop) 화면을 이동시킨다.
import { StatusBar } from 'expo-status-bar';
import { NavigationContainer } from '@react-navigation/native';

export default function App() {
  return (
    <NavigationContainer>{/* 네비게이션 설정 */}</NavigationContainer>
  );
}
App.js 파일을 위와 같이 작성한다. NavigationContainer 컴포넌트로 전체 컴포넌트를 감싸주면 탭 네비게이션이 가능하다.
import React from 'react'
import { SafeAreaView, View, Text, StyleSheet, StatusBar } from 'react-native'
function HomeScreen({navigation}){
return (
<SafeAreaView style={styles.block}>
<StatusBar backgroundColor="#a8c8ffff"></StatusBar>
<View>
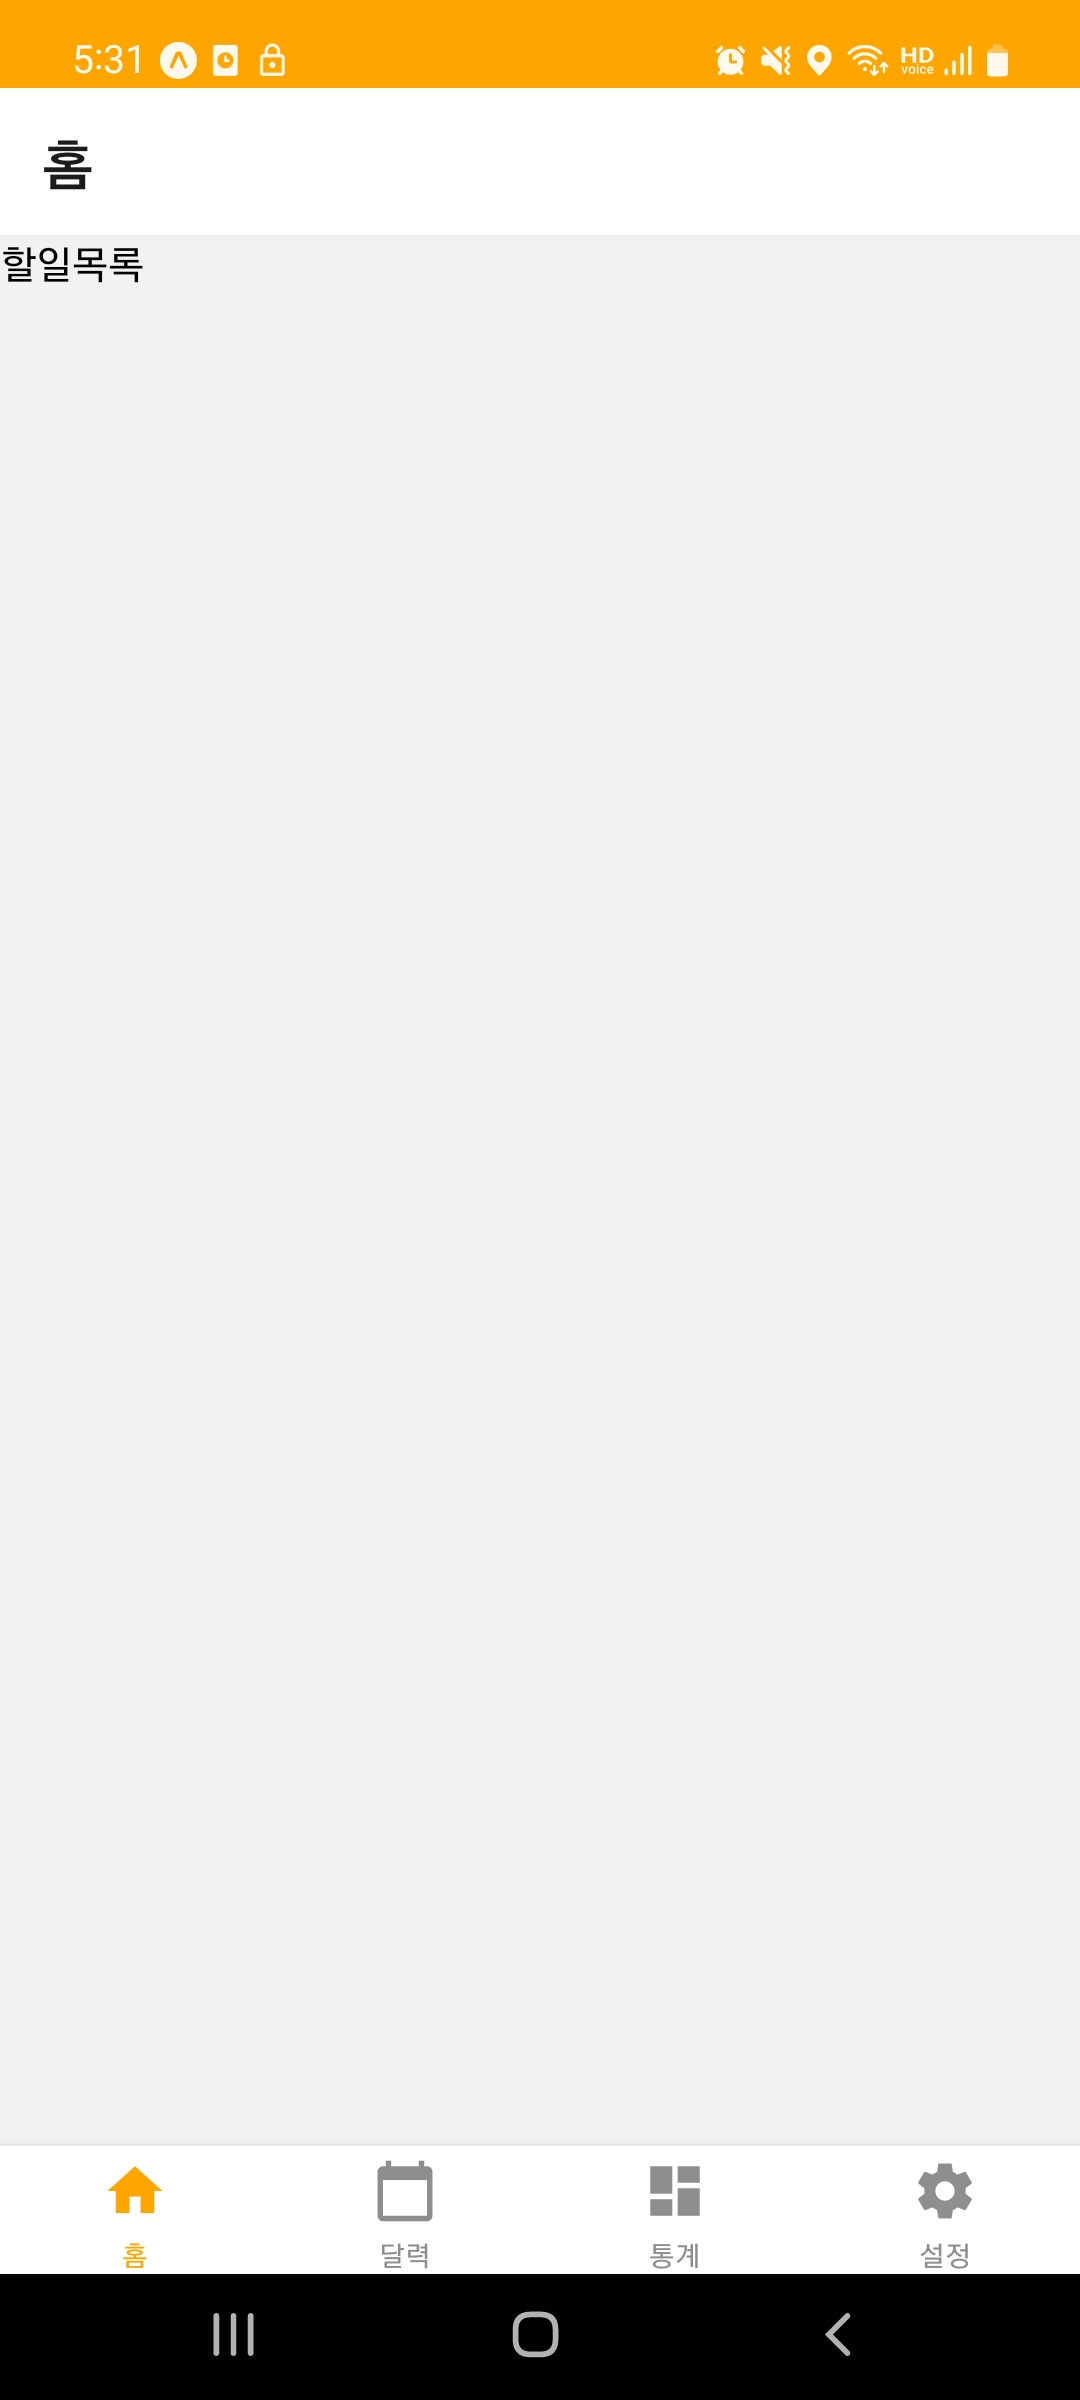
<Text>할일목록</Text>
</View>
</SafeAreaView>
)
}
const styles = StyleSheet.create({
block: {
flex: 1
}
})
export default HomeScreenscreens > HomeScreen.js 파일을 생성하고 위와 같이 작성한다. SafeAreaView 는 모바일 화면의 상단과 하단에 여백을 설정하여 안전한 영역에만 화면이 보이도록 한다. View 는 HTML 태그에서 div 처럼 컨텐츠의 레이아웃을 잡아주는 역할을 한다. Text 는 텍스트를 보여주는 컴포넌트이다. StyleSheet 은 화면 디자인을 위한 객체이다. StatusBar 컴포넌트는 모바일 화면의 상태바에 대한 컴포넌트이다.
import React from 'react'
import { SafeAreaView, View, Text, StyleSheet, StatusBar } from 'react-native'
function CalendarScreen({navigation}){
return (
<SafeAreaView style={styles.block}>
<StatusBar backgroundColor="#a8c8ffff"></StatusBar>
<View>
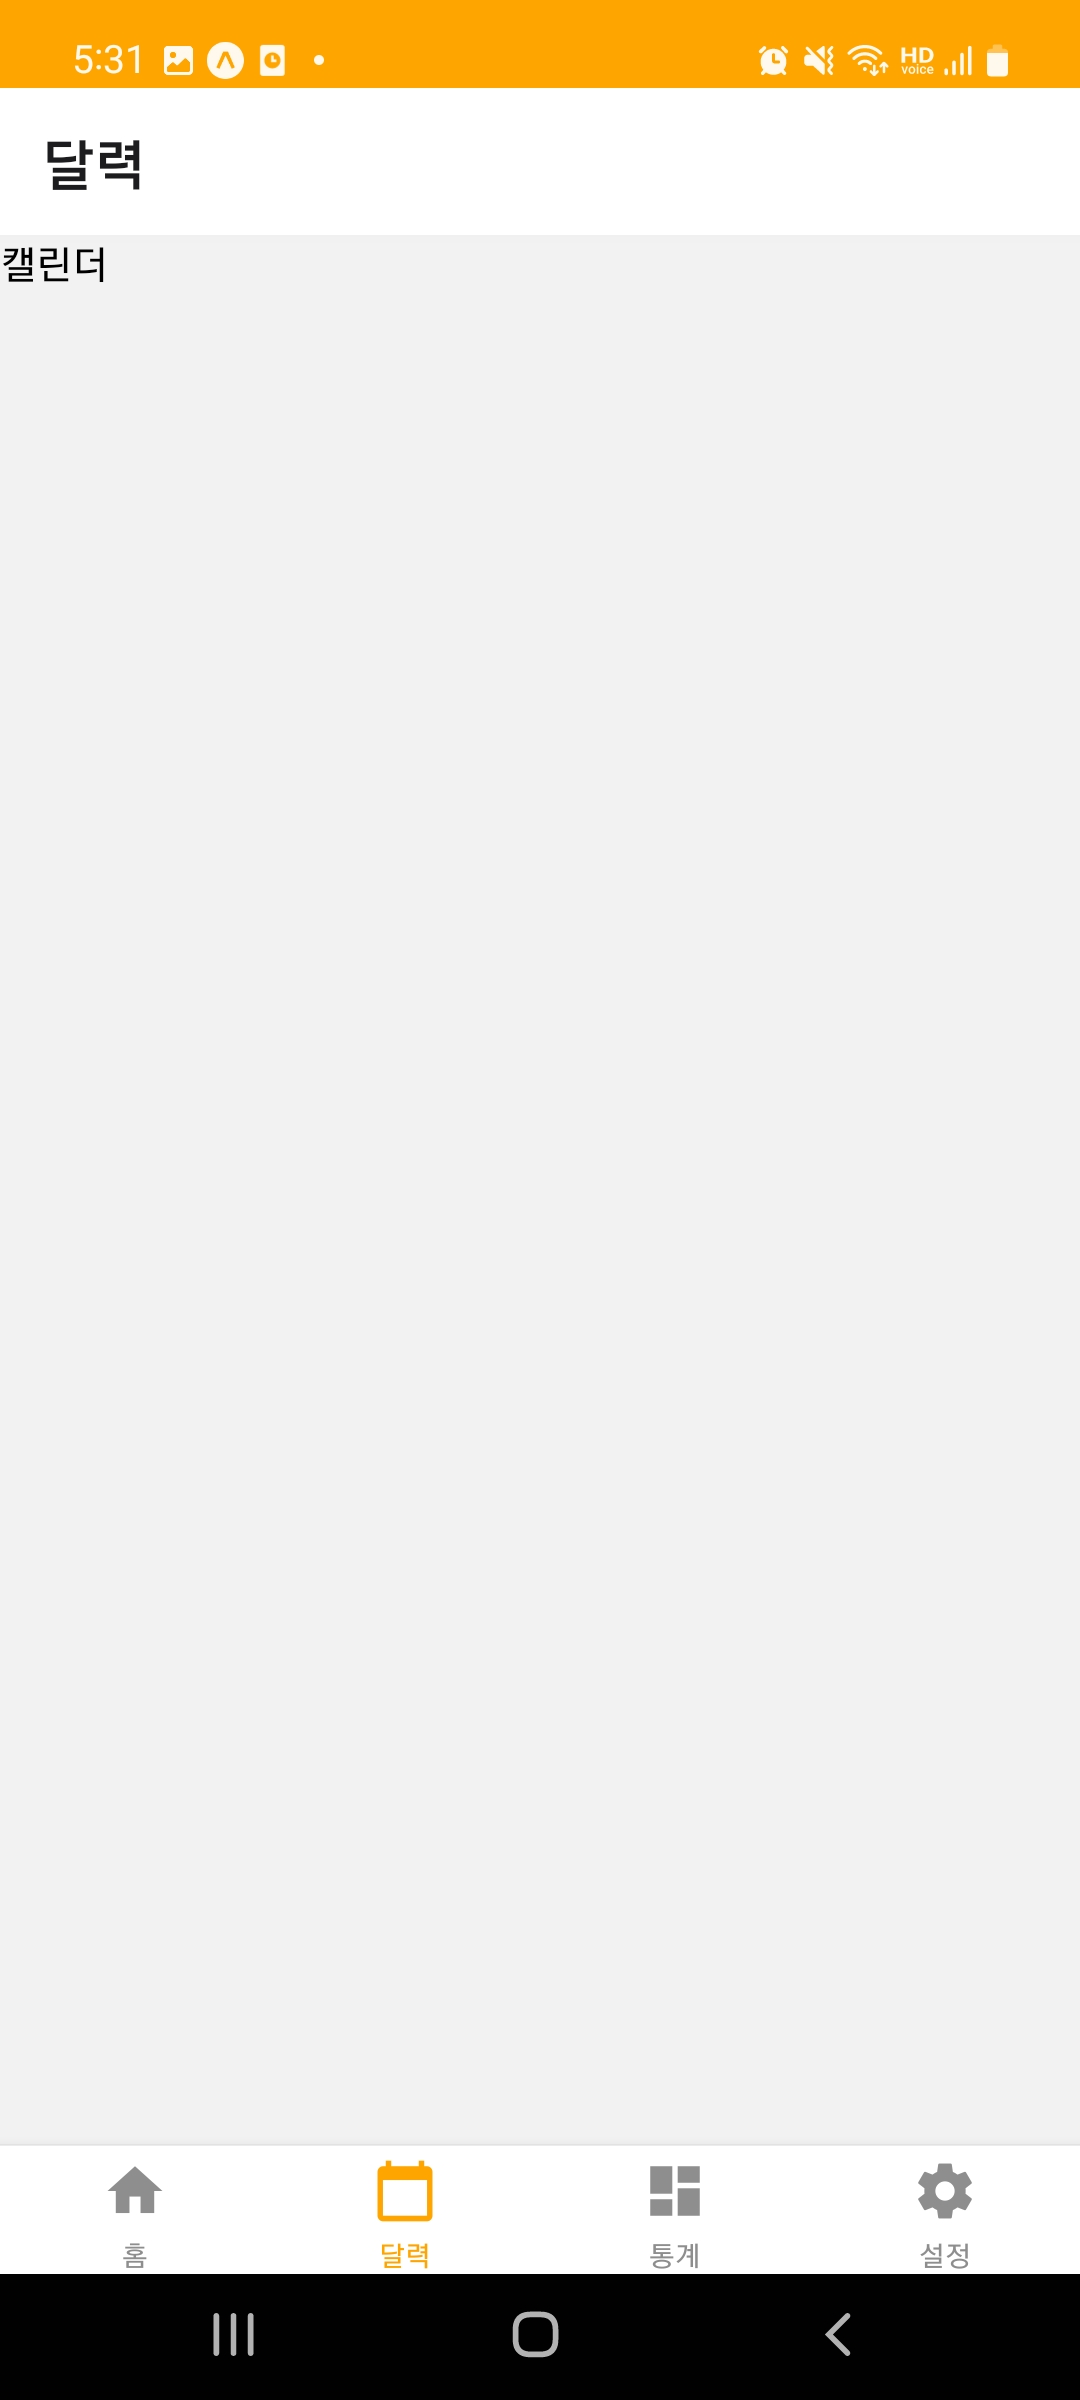
<Text>캘린더</Text>
</View>
</SafeAreaView>
)
}
const styles = StyleSheet.create({
block: {
flex: 1
}
})
export default CalendarScreenscreens > CalendarScreen.js 파일을 생성하고 위와 같이 작성한다.
import React from 'react'
import { SafeAreaView, View, Text, StyleSheet, StatusBar } from 'react-native'

function DashBoardSceen({navigation}){
  return (
    <SafeAreaView style={styles.block}>
      <StatusBar backgroundColor="#a8c8ffff"></StatusBar>
      <View>
        <Text>대쉬보드</Text>
      </View>
    </SafeAreaView>
  )
}

const styles = StyleSheet.create({
  block: {
    flex: 1
  }
})
export default DashBoardSceen
screens > DashBoardScreen.js 파일을 생성하고 위와 같이 작성한다.
import React from 'react'
import { SafeAreaView, View, Text, StyleSheet, StatusBar } from 'react-native'
function SettingsScreen({navigation}){
return (
<SafeAreaView style={styles.block}>
<StatusBar backgroundColor="#a8c8ffff"></StatusBar>
<View>
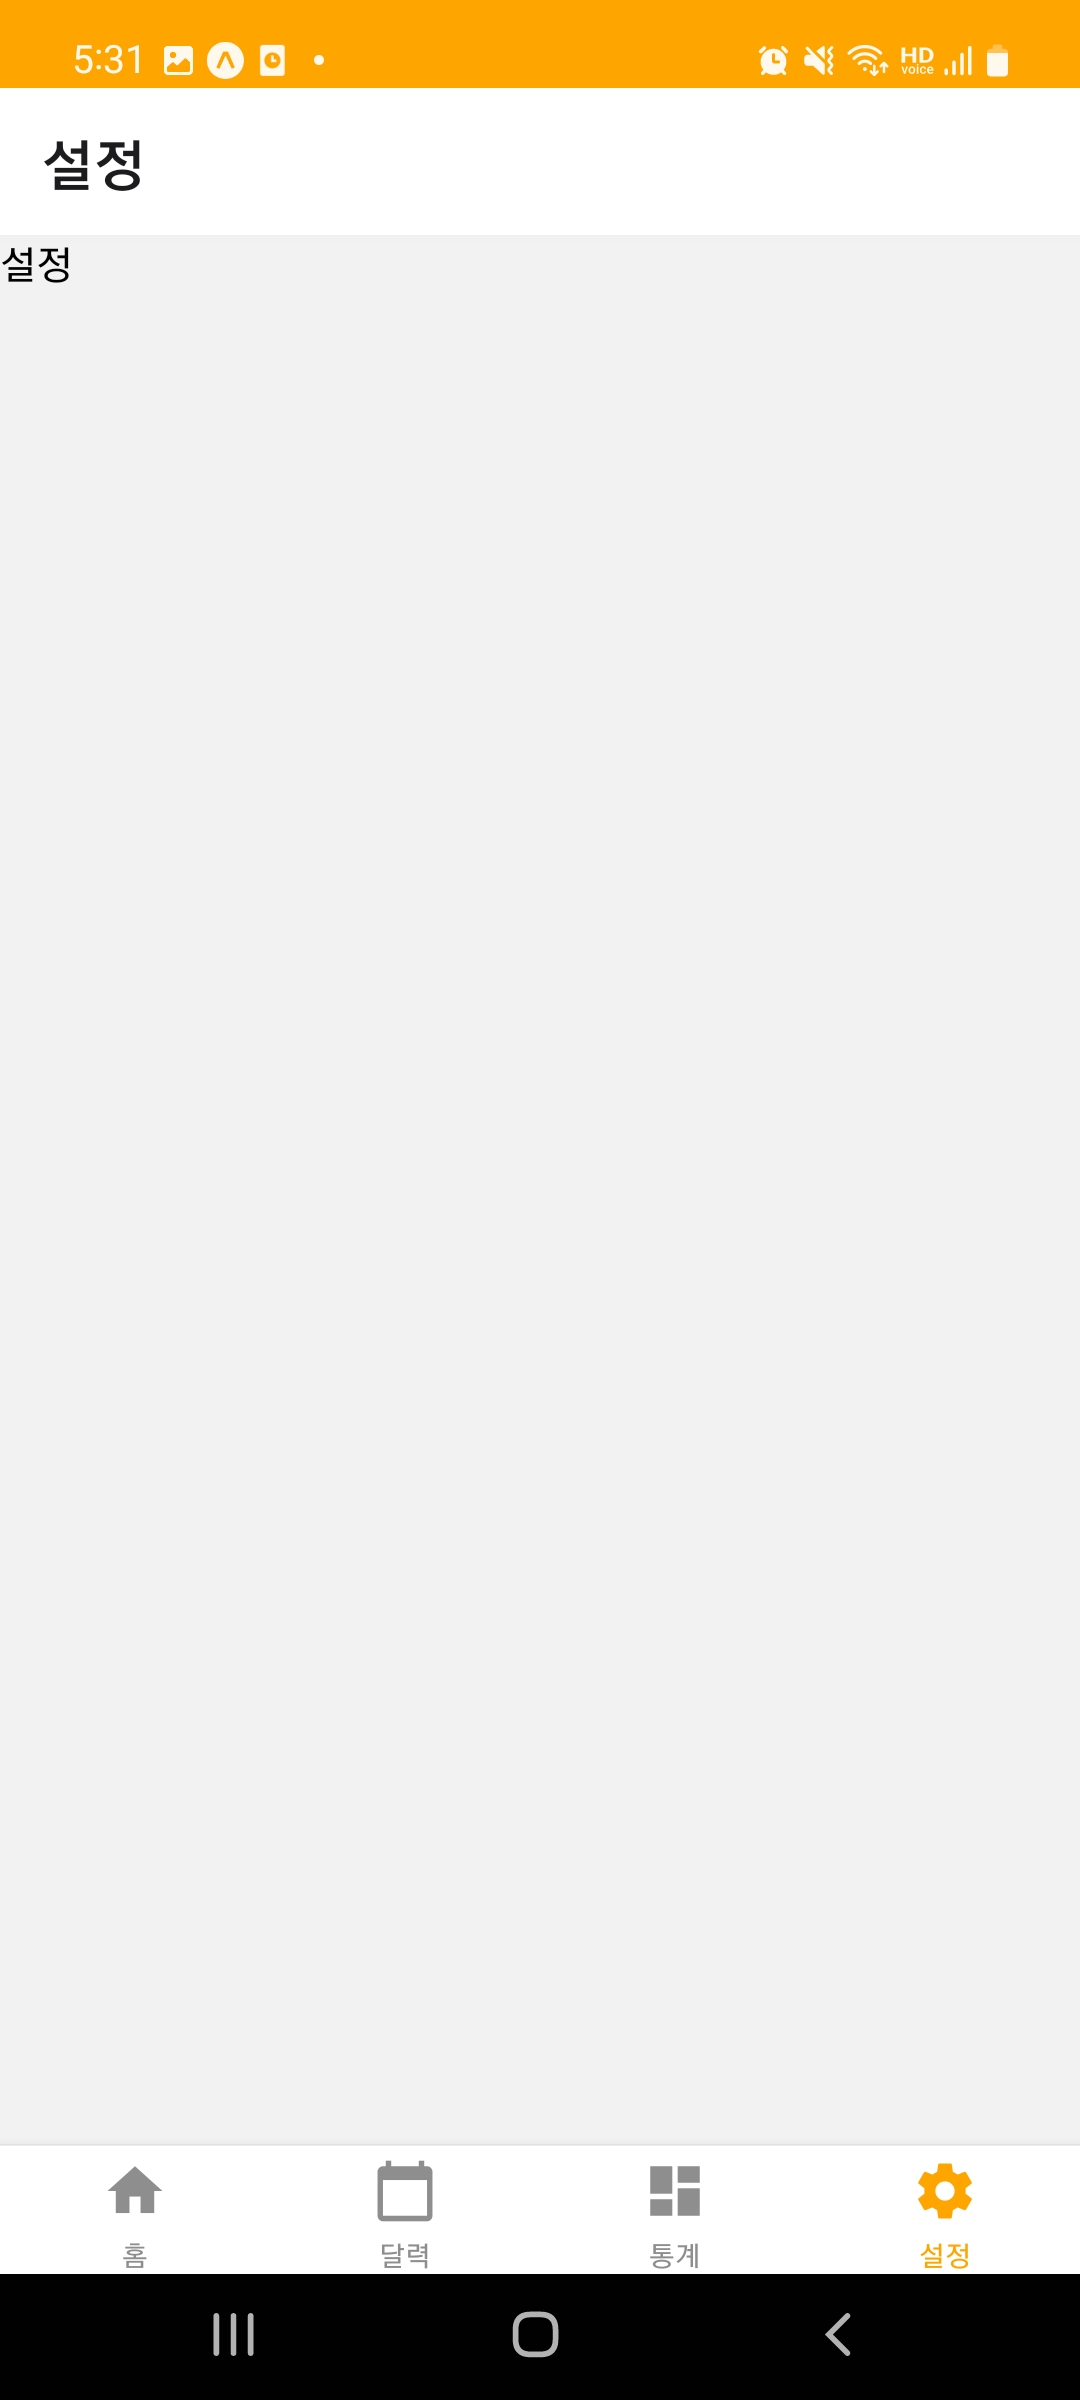
<Text>설정</Text>
</View>
</SafeAreaView>
)
}
const styles = StyleSheet.create({
block: {
flex: 1
}
})
export default SettingsScreenscreeens > SettingsScreen.js 파일을 생성하고 위와 같이 작성한다.
import React from 'react'
import { NavigationContainer } from '@react-navigation/native';
import { createNativeStackNavigator } from '@react-navigation/native-stack';
import HomeScreen from './screens/HomeScreen';
import CalendarScreen from './screens/CalendarScreen';
import DashBoardSceen from './screens/DashBoardScreen';
import SettingsScreen from './screens/SettingsScreen';

const Stack = createNativeStackNavigator()

export default function App() {
  return (
    <NavigationContainer>
      <Stack.Navigator initialRouteName = "Home">
        <Stack.Screen name="Home" component={HomeScreen}/>
        <Stack.Screen name="Calendar" component={CalendarScreen}/>
        <Stack.Screen name="DashBoard" component={DashBoardSceen}/>
        <Stack.Screen name="Settings" component={SettingsScreen}/>
      </Stack.Navigator>
    </NavigationContainer>
  );
}
App.js 파일을 위와 같이 수정한다. createNativeStackNavigator 함수를 실행하면 Stack 이라는 객체가 생성된다. Stack.Navigator 컴포넌트는 전체 모바일 화면을 감싸주는 역할을 한다. Stack.Screen 컴포넌트는 각각의 화면을 네비게이션할 수 있도록 설정해준다. name 속성은 다른 화면으로 이동하거나 현재 화면이 무엇인지 알아내기 위해서 사용된다. name 속성은 화면상단에 표시된다.

해당 에러가 발생하면 노드 버전이 낮기 때문이다. 최신버전을 설치하고 다시 npm start 로 앱을 실행하자! 현재 노드 최신버전 (LTS)은 18.17.1 이다.
* 탭메뉴 만들기
npm install @react-navigation/bottom-tabs react-native-vector-icons하단에 탭메뉴를 만들기 위하여 해당 라이브러리를 설치한다. 아이콘도 함께 사용해야 하므로 해당 아이콘도 같이 설치한다.
import React from 'react'
import { NavigationContainer } from '@react-navigation/native';
import { createNativeStackNavigator } from '@react-navigation/native-stack';
import { createBottomTabNavigator } from '@react-navigation/bottom-tabs';
import HomeScreen from './screens/HomeScreen';
import CalendarScreen from './screens/CalendarScreen';
import DashBoardSceen from './screens/DashBoardScreen';
import SettingsScreen from './screens/SettingsScreen';

// const Stack = createNativeStackNavigator()
const Tab = createBottomTabNavigator()

export default function App() {
  return (
    <NavigationContainer>
      <Tab.Navigator initialRouteName = "Home">
        <Tab.Screen name="Home" component={HomeScreen}/>
        <Tab.Screen name="Calendar" component={CalendarScreen}/>
        <Tab.Screen name="DashBoard" component={DashBoardSceen}/>
        <Tab.Screen name="Settings" component={SettingsScreen}/>
      </Tab.Navigator>
    </NavigationContainer>
  );
}
App.js 파일을 위와 같이 수정한다. Stack 을 Tab 으로 모두 변경한다.
https://oblador.github.io/react-native-vector-icons/
react-native-vector-icons directory
oblador.github.io
https://www.npmjs.com/package/react-native-vector-icons
react-native-vector-icons
Customizable Icons for React Native with support for NavBar/TabBar, image source and full styling.. Latest version: 10.0.0, last published: a month ago. Start using react-native-vector-icons in your project by running `npm i react-native-vector-icons`. The
www.npmjs.com
만약 재실행해도 잘 안되면 모바일에서 앱실행을 완전히 지우고 새로 실행하도록 한다.
import React from 'react'
import { NavigationContainer } from '@react-navigation/native';
import { createNativeStackNavigator } from '@react-navigation/native-stack';
import { createBottomTabNavigator } from '@react-navigation/bottom-tabs';
import Icon from 'react-native-vector-icons/MaterialIcons'

import HomeScreen from './screens/HomeScreen';
import CalendarScreen from './screens/CalendarScreen';
import DashBoardSceen from './screens/DashBoardScreen';
import SettingsScreen from './screens/SettingsScreen';

// const Stack = createNativeStackNavigator()
const Tab = createBottomTabNavigator()

export default function App() {
  return (
    <NavigationContainer>
      <Tab.Navigator initialRouteName = "Home" screenOptions={{
        tabBarActiveTintColor: '#a8c8ffff',
        // tabBarStyle: {
        //   backgroundColor: '#a8c8ffff'
        // }
      }}>
        <Tab.Screen name="Home" component={HomeScreen} options={{
          title: '홈',
          tabBarIcon: ({ color, size }) => <Icon name="home" color={color} size={size}/>
        }}/>
        <Tab.Screen name="Calendar" component={CalendarScreen} options={{
          title: '달력',
          tabBarIcon: ({ color, size }) => <Icon name="calendar-today" color={color} size={size}/>
        }}/>
        <Tab.Screen name="DashBoard" component={DashBoardSceen} options={{
          title: '통계',
          tabBarIcon: ({ color, size }) => <Icon name="dashboard" color={color} size={size}/>
        }}/>
        <Tab.Screen name="Settings" component={SettingsScreen} options={{
          title: '설정',
          tabBarIcon: ({ color, size }) => <Icon name="settings" color={color} size={size}/>
        }}/>
      </Tab.Navigator>
    </NavigationContainer>
  );
}
탭메뉴에 아이콘을 추가하기 위해서는 Tab.Screen 컴포넌트의 options 속성에 위와 같이 작성하면 된다. title 은 탭메뉴 각각의 이름이고 tabBarIcon 은 함수 컴포넌트로 focused, color, size 를 props 로 전달받아서 그대로 Icon 컴포넌트에 전달한다. 이렇게 하면 탭 메뉴에서 각 메뉴를 클릭할때마다 해당 메뉴의 아이콘 색상이 변경되고, 가로/세로 모드에 따라 아이콘 크기도 자동으로 변경된다. Tab.Navigator 컴포넌트의 screenOptions 는 탭메뉴의 스타일을 설정한다. tabBarActiveTintColor 는 사용자가 탭메뉴를 터치했을때 액티브 색상을 설정한다. tabBarStyle 은 탭메뉴의 배경색 등을 설정한다.
* 에러 처리하기
apply plugin: "com.android.application"
apply plugin: "com.facebook.react"

/**
 * This is the configuration block to customize your React Native Android app.
 * By default you don't need to apply any configuration, just uncomment the lines you need.
 */
react {
    /* Folders */
    //   The root of your project, i.e. where "package.json" lives. Default is '..'
    // root = file("../")
    //   The folder where the react-native NPM package is. Default is ../node_modules/react-native
    // reactNativeDir = file("../node_modules/react-native")
    //   The folder where the react-native Codegen package is. Default is ../node_modules/@react-native/codegen
    // codegenDir = file("../node_modules/@react-native/codegen")
    //   The cli.js file which is the React Native CLI entrypoint. Default is ../node_modules/react-native/cli.js
    // cliFile = file("../node_modules/react-native/cli.js")

    /* Variants */
    //   The list of variants to that are debuggable. For those we're going to
    //   skip the bundling of the JS bundle and the assets. By default is just 'debug'.
    //   If you add flavors like lite, prod, etc. you'll have to list your debuggableVariants.
    // debuggableVariants = ["liteDebug", "prodDebug"]

    /* Bundling */
    //   A list containing the node command and its flags. Default is just 'node'.
    // nodeExecutableAndArgs = ["node"]
    //
    //   The command to run when bundling. By default is 'bundle'
    // bundleCommand = "ram-bundle"
    //
    //   The path to the CLI configuration file. Default is empty.
    // bundleConfig = file(../rn-cli.config.js)
    //
    //   The name of the generated asset file containing your JS bundle
    // bundleAssetName = "MyApplication.android.bundle"
    //
    //   The entry file for bundle generation. Default is 'index.android.js' or 'index.js'
    // entryFile = file("../js/MyApplication.android.js")
    //
    //   A list of extra flags to pass to the 'bundle' commands.
    //   See https://github.com/react-native-community/cli/blob/main/docs/commands.md#bundle
    // extraPackagerArgs = []

    /* Hermes Commands */
    //   The hermes compiler command to run. By default it is 'hermesc'
    // hermesCommand = "$rootDir/my-custom-hermesc/bin/hermesc"
    //
    //   The list of flags to pass to the Hermes compiler. By default is "-O", "-output-source-map"
    // hermesFlags = ["-O", "-output-source-map"]
}

/**
 * Set this to true to Run Proguard on Release builds to minify the Java bytecode.
 */
def enableProguardInReleaseBuilds = false

/**
 * The preferred build flavor of JavaScriptCore (JSC)
 *
 * For example, to use the international variant, you can use:
 * `def jscFlavor = 'org.webkit:android-jsc-intl:+'`
 *
 * The international variant includes ICU i18n library and necessary data
 * allowing to use e.g. `Date.toLocaleString` and `String.localeCompare` that
 * give correct results when using with locales other than en-US. Note that
 * this variant is about 6MiB larger per architecture than default.
 */
def jscFlavor = 'org.webkit:android-jsc:+'

android {
    ndkVersion rootProject.ext.ndkVersion

    compileSdkVersion rootProject.ext.compileSdkVersion

    namespace "com.learnreactnative"
    defaultConfig {
        applicationId "com.learnreactnative"
        minSdkVersion rootProject.ext.minSdkVersion
        targetSdkVersion rootProject.ext.targetSdkVersion
        versionCode 1
        versionName "1.0"
    }
    signingConfigs {
        debug {
            storeFile file('debug.keystore')
            storePassword 'android'
            keyAlias 'androiddebugkey'
            keyPassword 'android'
        }
    }
    buildTypes {
        debug {
            signingConfig signingConfigs.debug
        }
        release {
            // Caution! In production, you need to generate your own keystore file.
            // see https://reactnative.dev/docs/signed-apk-android.
            signingConfig signingConfigs.debug
            minifyEnabled enableProguardInReleaseBuilds
            proguardFiles getDefaultProguardFile("proguard-android.txt"), "proguard-rules.pro"
        }
    }
}

dependencies {
    // The version of react-native is set by the React Native Gradle Plugin
    implementation("com.facebook.react:react-android")

    debugImplementation("com.facebook.flipper:flipper:${FLIPPER_VERSION}")
    debugImplementation("com.facebook.flipper:flipper-network-plugin:${FLIPPER_VERSION}") {
        exclude group:'com.squareup.okhttp3', module:'okhttp'
    }

    debugImplementation("com.facebook.flipper:flipper-fresco-plugin:${FLIPPER_VERSION}")
    if (hermesEnabled.toBoolean()) {
        implementation("com.facebook.react:hermes-android")
    } else {
        implementation jscFlavor
    }
}

apply from: file("../../node_modules/@react-native-community/cli-platform-android/native_modules.gradle"); applyNativeModulesAppBuildGradle(project)
apply from: file("../../node_modules/react-native-vector-icons/fonts.gradle") // 에러해결
만약 애뮬레이터 실행시 탭메뉴 아이콘이 보이지 않으면 android > app > build.gradle 파일 하단에 위와 같이 추가하고 다시 껐다가 재시작한다.

'프로젝트 > 할일목록 앱 (RN)' 카테고리의 다른 글
| 6. 할일목록 수정 및 삭제 기능 만들기 (0) | 2023.09.27 |
|---|---|
| 5. 할일목록 날짜별로 필터링해서 보여주기 & 할일목록 최신순 정렬해서 보여주기 (0) | 2023.09.25 |
| 4. 파이어베이스 데이터베이스에 할일목록 저장하고 불러오기 (0) | 2023.09.14 |
| 3. 파이어베이스 (Firebase) 연동하기 (0) | 2023.09.14 |
| 2. 홈화면 구현하기 - 할일목록 보여주기 (0) | 2023.08.20 |