
* 할일목록이 비어있는 경우 키보드가 보여질때 이미지가 밀려올라가는 문제 해결하기
import React from 'react'
import { View, Text, Image, StyleSheet, KeyboardAvoidingView, Dimensions } from 'react-native'

function Default(){
    return (
        <KeyboardAvoidingView style={styles.container}>
            <Image source={require('../assets/imgs/todo.png')}/>
            <Text style={styles.guideText}>현재 할일목록이 비어있습니다.</Text>
        </KeyboardAvoidingView>
    )
}

const styles = StyleSheet.create({
    container: {
        position: 'absolute',
        left: 0,
        top: 0,
        justifyContent: 'center',
        alignItems: 'center',
        width: Dimensions.get('window').width,
        height: Dimensions.get('window').height,
        backgroundColor: '#fff'
    },
    guideText: {
        fontSize: 20,
        marginTop: 30
    }
})

export default Default
components > Default.js 파일을 위와 같이 수정한다.
import { View, Text, Image, StyleSheet, KeyboardAvoidingView, Dimensions } from 'react-native'KeyboardAvoidingView, Dimensions 를 추가로 임포트한다.
<KeyboardAvoidingView style={styles.container}>
    <Image source={require('../assets/imgs/todo.png')}/>
    <Text style={styles.guideText}>현재 할일목록이 비어있습니다.</Text>
</KeyboardAvoidingView>
View 컴포넌트를 KeyboardAvoidingView 컴포넌트로 변경한다.
container: {
    position: 'absolute',
    left: 0,
    top: 0,
    justifyContent: 'center',
    alignItems: 'center',
    width: Dimensions.get('window').width,
    height: Dimensions.get('window').height,
    backgroundColor: '#fff'
},
KeyboardAvoidingView 컴포넌트 스타일을 위와 같이 수정한다. 기존에는 flex: 1 을 설정하여 입력창을 제외한 나머지 영역을 모두 차지하도록 했는데 이렇게 하면 키보드가 나타나면서 입력창이 밀려올라가고, 그만큼 이미지가 보여지는 영역이 줄어들게 된다. 그러면서 이미지가 위로 밀려올라간다. position: 'absolute'로 설정하고, 전체화면을 다 차지하도록 하면 키보드가 나타날때 이미지는 고정된다.
import React from 'react'
import {
    View,
    Text,
    TextInput,
    TouchableOpacity,
    StyleSheet,
    Keyboard
} from 'react-native'

function TodoInsert({ onInsertTodo, todoText, setTodoText, warning, setWarning, disabled }){ // disabled props 추가함
  const onPress = () => {
    const trimedText = todoText.trim()
    onInsertTodo(trimedText)
  }
  const handleChange = (text) => {
    if (/\n/.test(text)) { // 엔터키 입력시
      console.log("제출")
      onPress() // 할일추가
    }else {
      console.log("엔터키 아님")
      setTodoText(text)
      setWarning(false)
    }
  }
  const hideKeyboard = (e) => {
    Keyboard.dismiss()
  }
  console.log(todoText)
  return (
    <View style={styles.container}>
      <TextInput
        editable={!disabled} // disabled 값에 따른 입력창 비활성화
        selectTextOnFocus={!disabled} // disabled 값에 따른 입력창 비활성화
        placeholder={disabled ? 'X 할일을 작성할 수 없습니다 X' : '할일을 작성해주세요!'} // disabled 값에 따른 안내문구 변경
        placeholderTextColor={disabled ? 'red': '#a8c8ffff'}  // disabled 값에 따른 안내문구 색상 변경
        selectionColor={'#d6e3ffff'}  // 커서색상
        style={[styles.input, { color: warning ? 'red': '#a8c8ffff' } ]}
        value={disabled ? "" : todoText} // disabled 값이 true 인 경우 입력창 초기화
        blurOnSubmit={ false } // 탭키 누를때 키보드 사라지지 않게 하기
        onChangeText={handleChange} // 입력창에 글자를 입력할때
        returnKeyType="done" // 엔터키 아이콘 변경
        maxLength={50} // 최대 글자수 제한
        autoCorrect={false} // 자동완성기능 끄기
        onSubmitEditing={hideKeyboard} // 여기서 하면 엔터키 두번 눌러야 할일추가됨 (키보드만 닫는걸로 수정함)
        />
        <TouchableOpacity
            disabled={disabled} // disabled 값에 따른 버튼 비활성화
            activeOpacity={0.7} // 버튼 클릭시 투명도 변경
            onPress={onPress}   // 버튼 클릭시 실행
        >
        {/* disabled 값에 따른 버튼 색상 변경 */}
            <View style={[styles.button, { backgroundColor: disabled ? "red" : '#a8c8ffff' }]}>
                <Text style={styles.buttonText}>추가</Text>
            </View>
        </TouchableOpacity>
    </View>
  )
}

const styles = StyleSheet.create({
  container: {
    height: 70,
    paddingLeft: 10,
    borderColor: 'transparent',
    borderTopWidth: 3,
    flexDirection: 'row',
    alignItems: 'center',
    justifyContent: 'space-between',
    backgroundColor: '#fff',
    position: 'absolute',
    bottom: 0, left: 0, right: 0
  },
  input: {
    color: '#a8c8ffff',
    fontSize: 20,
    paddingVertical: 20,
    flex: 1
  },
  button: {
    width: 80,
    height: 35,
    borderRadius: 20,
    marginRight: 10,
    justifyContent: 'center',
    alignItems: 'center',
    overflow: 'hidden'
  },
  buttonText: {
    color: '#fff',
    letterSpacing: 3,
    fontWeight: 'bold',
    fontSize: 15
  }
})

export default TodoInsert
components > TodoInsert.js 파일을 위와 같이 수정한다.
container: {
    height: 70,
    paddingLeft: 10,
    borderColor: 'transparent',
    borderTopWidth: 3,
    flexDirection: 'row',
    alignItems: 'center',
    justifyContent: 'space-between',
    backgroundColor: '#fff',
    position: 'absolute', // 수정
    bottom: 0, left: 0, right: 0 // 수정
  },
Default 컴포넌트의 레이아웃을 수정하면서 입력창의 레이아웃이 틀어진다. 입력창은 화면 하단에 고정될 수 있도록 위와 같이 수정하도록 한다.
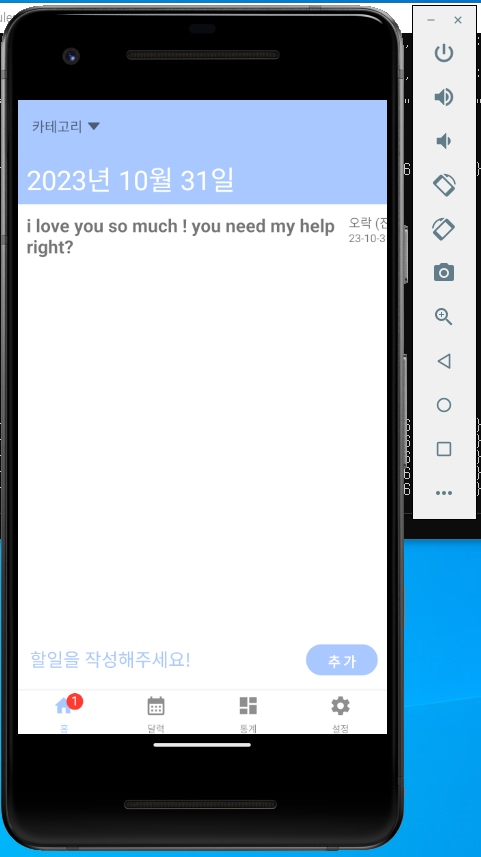
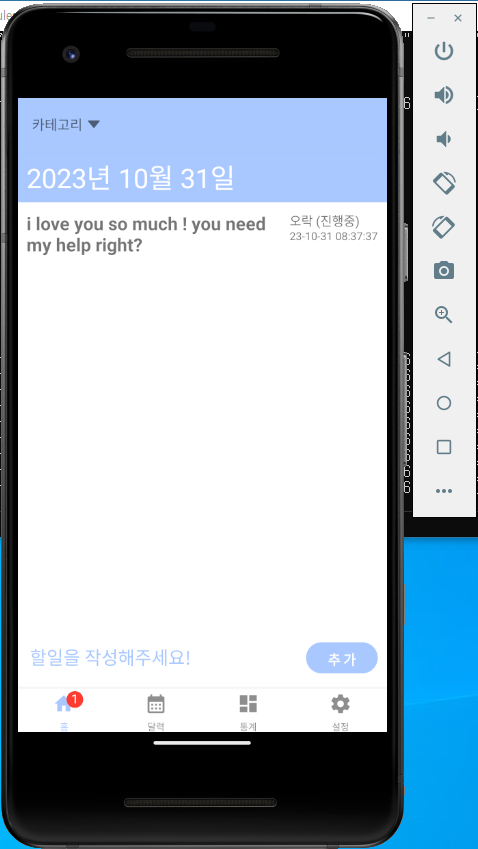
* 할일제목이 길때 레이아웃 깨지는 문제 해결하기
import React, { useState, useRef, useEffect } from 'react'
import { View, Text, StyleSheet, TouchableWithoutFeedback, TextInput, TouchableOpacity, Keyboard } from 'react-native'
import moment from 'moment'

import {
    updateDate
  } from '../apis/firebase'

let lastTap = null

function TodoItem({ id, title, category, isDone, createdAt, removeTodo }){
    console.log("할일 생성시각: ", title, createdAt)
    const [doubleTabbed, setDoubleTabbed] = useState(false)
    const [text, setText] = useState("")
    const inputRef = useRef(null)

    const handleDoubleTab = (e) => {
        console.log(inputRef.current)
        setDoubleTabbed(!doubleTabbed)
        setText(title)
    }
    const ishandleDoubleTap = () => {
        const now = Date.now() // 밀리세컨드초
        const delay = 300
        if(lastTap && (now - lastTap) < delay){
            return true
        }else{
            lastTap = now
            return false
        }
    }
    const handleTap = () => {
        updateDate('todos', id, {
            isDone: !isDone
        })
    }
    const handlePress = (e) => {
        if(ishandleDoubleTap()){
            handleDoubleTab()
            console.log("더블탭")
            handleTap()
        }else{
            handleTap()
            console.log("------ 탭 ----------")
        }
    }
    const handleBlur = (e) => {
        e.stopPropagation()
        console.log("블러")
        setDoubleTabbed(!doubleTabbed)
        Keyboard.dismiss()
        updateDate('todos', id, {
            title: text.trim()
        })
    }
    const handleChange = (text) => {
        // if (/\n/.test(text)) { // 엔터키 입력시
        //     Keyboard.dismiss()
        //     // inputRef.current.blur()

        // }else{
        //     setText(text)
        // }
        setText(text)
    }
    const hideKeyboard = (e) => {
        Keyboard.dismiss()
        // inputRef.current.blur()
      }
    const handleRemove = (e) => {
        e.stopPropagation()
        removeTodo(id, title)
    }
    useEffect(() => {
        if(inputRef.current){
            inputRef.current.focus()
        }
    })
    return (
        <TouchableWithoutFeedback onPress={handlePress} onLongPress={handleRemove}>
            <View style={styles.item}>
                <View style={styles.titleMargin} onTouchStart={(e) => {e.stopPropagation()}}>
                    {doubleTabbed ?
                        (
                            <TouchableWithoutFeedback>
                                <TextInput
                                    value={text}
                                    onBlur={handleBlur}
                                    ref={inputRef}
                                    onChangeText={handleChange} // 입력창에 글자를 입력할때
                                    // onSubmitEditing={hideKeyboard} // 여기서 하면 엔터키 두번 눌러야 할일추가됨 (키보드만 닫는걸로 수정함)
                            />
                            </TouchableWithoutFeedback>
                        ) :
                        <Text style={[styles.title, {textDecorationLine: (isDone && !doubleTabbed ) ? 'line-through': 'none'}]}>{title}</Text>}
                </View>
                <View>
                    <Text>{category} ({isDone ? "종료": "진행중"})</Text>
                    <Text style={styles.dateText}>{createdAt && moment(createdAt.toDate()).format('YY-MM-DD hh:mm:ss')}</Text>
                </View>
            </View>
        </TouchableWithoutFeedback>
    )
}

const styles = StyleSheet.create({
    item: {
        flexDirection: 'row',
        alignItems: 'flex-start',
        paddingLeft: 10,
        paddingVertical: 10,
        // backgroundColor: '#d6e3ffff',
        // borderBottomWidth: 1,
        // borderBottomColor: '#a8c8ffff',
    },
    titleMargin: {
        marginRight: 10,
        flex: 1
    },
    title: {
        fontWeight: 'bold',
        fontSize: 20,
    },
    dateText: {
        fontSize: 12,
        paddingRight: 10
    }
})

export default React.memo(TodoItem)
components > TodoItem.js 파일을 위와 같이 수정한다.
titleMargin: {
        marginRight: 10,
        flex: 1 // 추가
 },
수정된 부분은 위와 같다. 할일제목이 보여지는 영역에 flex: 1을 적용해서 카테고리와 할일 생성시각이 보이는 영역을 제외한 나머지 영역을 다 차지할 수 있도록 한다.
dateText: {
    fontSize: 12,
    paddingRight: 10 // 추가
}
카테고리와 할일 생성시각이 보이는 영역 우측에 패딩을 적용하였다.
'프로젝트 > 할일목록 앱 (RN)' 카테고리의 다른 글
| 21. 할일목록과 사용자 연동하기 (0) | 2023.11.06 |
|---|---|
| 20. 미래 날짜에 저장하는 투두가 오늘날짜에 저장되는 에러 해결하기 (0) | 2023.11.06 |
| 18. 소셜로그인 에러 해결하기 (1) | 2023.10.30 |
| 17. 탭메뉴 배지 사용하기 - 해당 날짜의 할일 갯수 보여주기 (0) | 2023.10.27 |
| 16. 전체 로그인 로직 수정하기 (0) | 2023.10.27 |