
* index.js 파일 수정하기
git checkout master 를 해서 master 브랜치에서 아래 코드 수정후 git add / git commit / git push heroku master 명령어를 실행하자!
app.listen(process.env.PORT || 5000, () => {
    console.log("server is running on port 5000! - nodemon")
})
히로쿠 서버는 포트를 동적으로 부여하므로 위와 같이 코드를 수정한다.
mongoose.connect(CONNECT_URL, { // Mongo DB 서버 연결
    useNewUrlParser: true,
    useUnifiedTopology: true
}).then(() => console.log("mongodb connected ..."))
.catch(e => console.log(`failed to connect mongodb: ${e}`))
해당 코드는 일단 주석처리한다.
const express = require('express')
const WordRouter = express.Router()

const Word = require('../../models/Word')

WordRouter.route('/(:word)?').get( async (req, res) => {
    let words = []
    const { word } = req.params

    if(word !== "undefined" && word !== undefined){
        console.log(word)
        try{
            words = [
                {
                    r_seq: "1",
                    r_word: "학원",
                    r_link: "https//google.com",
                    r_chi: "한자",
                    r_des: "학원은 지루하다",
                    r_pos: "포스",
                },
                {
                    r_seq: "1",
                    r_word: "학원",
                    r_link: "https//google.com",
                    r_chi: "한자",
                    r_des: "학원은 지루하다",
                    r_pos: "포스",
                }
            ]
            // words = await Word.find({ r_word: word}) // Word 모델의 r_word 필드에서 쿼리와 일치하는 단어 검색
            // words = await Word.find({ r_word: { $regex: `^${word}`}}) // Word 모델의 r_word 필드에서 쿼리로 시작하는 단어 검색
            // words = await Word.find({ r_word: { $regex: `${word}$`}}) // Word 모델의 r_word 필드에서 쿼리로 끝나는 단어 검색
            // words = await Word.find({ r_des: { $regex: `${word}`}}) // Word 모델의 r_des 필드에서 쿼리를 포함하는 단어 검색

            // words = await Word.find({ $or: [      // Word 모델의 r_word 필드와 r_des 필드에서 쿼리를 포함하는 단어 검색
            //     {r_word: {$regex: `${word}`}},
            //     {r_des: {$regex: `${word}`}}
            // ]})

            // words = await Word.find({ $or: [      // Word 모델의 r_word 필드와 r_des 필드에서 쿼리를 포함하는 단어 검색후 최신순으로 정렬하고 3개만 가져오기
            //         {r_word: {$regex: `${word}`}},
            //         {r_des: {$regex: `${word}`}}
            //     ]})
            //     .sort({"_id": -1})
            //     .limit(6)


        }catch(e){
            console.log(e)
        }
    }else{
        console.log(word)
        try{
            words = [
                {
                    r_seq: "1",
                    r_word: "학원",
                    r_link: "https//google.com",
                    r_chi: "한자",
                    r_des: "학원은 지루하다",
                    r_pos: "포스",
                },
                {
                    r_seq: "1",
                    r_word: "학원",
                    r_link: "https//google.com",
                    r_chi: "한자",
                    r_des: "학원은 지루하다",
                    r_pos: "포스",
                },
                {
                    r_seq: "1",
                    r_word: "학원",
                    r_link: "https//google.com",
                    r_chi: "한자",
                    r_des: "학원은 지루하다",
                    r_pos: "포스",
                },
                {
                    r_seq: "1",
                    r_word: "학원",
                    r_link: "https//google.com",
                    r_chi: "한자",
                    r_des: "학원은 지루하다",
                    r_pos: "포스",
                },
                {
                    r_seq: "1",
                    r_word: "학원",
                    r_link: "https//google.com",
                    r_chi: "한자",
                    r_des: "학원은 지루하다",
                    r_pos: "포스",
                },
                {
                    r_seq: "1",
                    r_word: "학원",
                    r_link: "https//google.com",
                    r_chi: "한자",
                    r_des: "학원은 지루하다",
                    r_pos: "포스",
                }
            ]
            // words = await Word.find() // 데이터베이스에서 전체 단어 검색
        }catch(e){
            console.log(e)
        }
    }
    res.json({status: 200, words})
})

module.exports = WordRouter
routes > word > index.js 파일을 위와 같이 수정한다. 실제 데이터베이스를 조회하는 대신에 가짜 데이터를 전송한다.
{
  "name": "server",
  "version": "1.0.0",
  "description": "",
  "main": "index.js",
  "scripts": {
    "test": "echo \"Error: no test specified\" && exit 1",
    "start": "npm install & node index.js"
  },
  "keywords": [],
  "author": "",
  "license": "ISC",
  "dependencies": {
    "cors": "^2.8.5",
    "express": "^4.17.1",
    "mongoose": "^6.0.10",
    "morgan": "^1.10.0"
  }
}
server 폴더 하위의 package.json 파일을 위와 같이 수정한다. scripts 에 start 부분이 추가되었다. npm start 를 하게 되면 package.json 의 dependencies 에 나열된 패키지들이 전부 설치된 다음 서버를 구동한다. .gitignore 파일에서 node_modules 는 제외하므로 히로쿠 서버에 배포를 하게 되면 npm install 명령어로 패키지를 설치한 다음 서버를 구동한다.
git init
git add .
git commit -am"prepare to deploy"
server 폴더(package.json 파일이 위치한 곳)에서 위 명령어를 실행하여 코드 변경사항을 로컬에 저장한다.
만약 .git 폴더가 server 폴더 하위에 없으면 git init 을 해서 .git 폴더를 생성한 다음에 위 명령어를 실행한다. 그리고 추후에 서버 코드에 변경이 있을때마다 위 명령어를 실행하고 git push heroku master 를 실행해줘야 한다.
* 히로쿠 사이트 가입하기
Heroku | Login
id.heroku.com
히로쿠 사이트에 가입한다.
* 히로쿠 CLI 설치하기
The Heroku CLI | Heroku Dev Center
Last updated October 18, 2021 The Heroku Command Line Interface (CLI) makes it easy to create and manage your Heroku apps directly from the terminal. It’s an essential part of using Heroku. Download and install The Heroku CLI requires Git, the popular ve
devcenter.heroku.com
* 히로쿠 로그인하기
heroku login
* 히로쿠 앱 생성하기
heroku create dictionary-searchpackage.json 이 위치한 곳에서 위 명령어를 실행한다. 히로쿠는 앱 이름이 Unique 해야 하므로 이 글을 읽는 분들은 dictionary-search 와는 다른 앱 이름을 사용하기 바란다. (예 - dictionary-search-app)


* 히로쿠에 서버 배포하기
git push heroku master
* 히로쿠 앱 동작 확인하기
heroku logs --tail
* 히로쿠 웹페이지 열기
heroku open
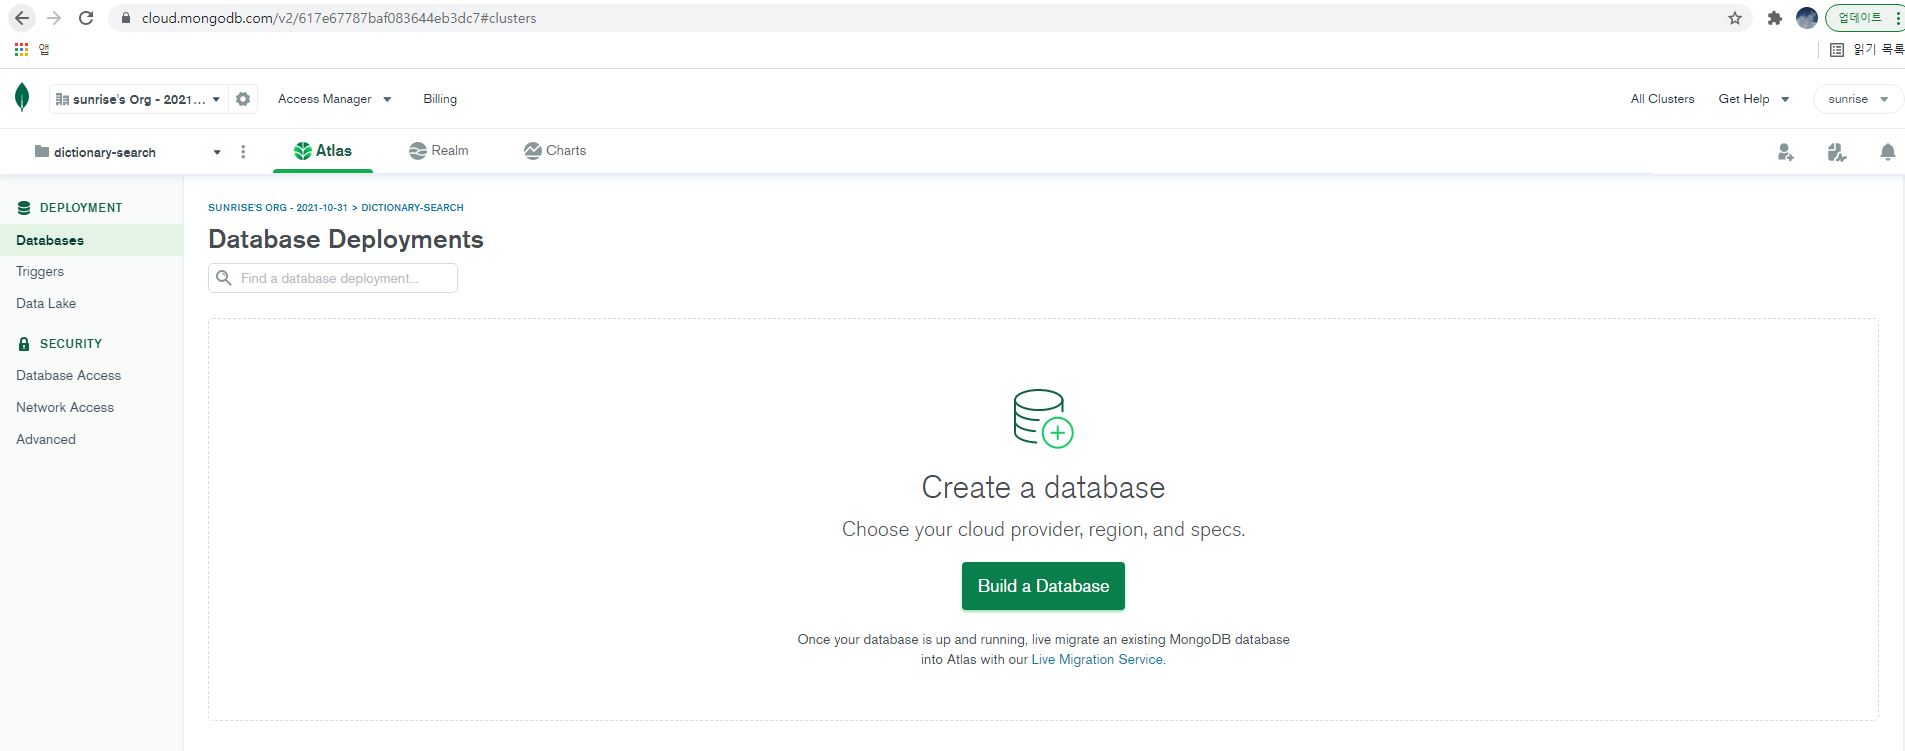
* MongoDB 아틀라스 가입하기
MongoDB Cloud
MongoDB Cloud는 최신 애플리케이션을 위한 통합 데이터 플랫폼으로, 글로벌 클라우드 데이터베이스, 검색, 데이터레이크, 모바일 및 애플리케이션 서비스를 포함하고 있습니다.
www.mongodb.com
* MogoDB 아틀라스 프로젝트 생성하기

* MogoDB 아틀라스 데이터베이스 생성하기

팝업화면에서 데이터베이스 이름과 컬렉션 이름을 작성한다.
서버 코드에 작성된 데이터베이스 이름과 컬렉션 이름이 반드시 몽고 아틀라스에서 설정한 데이터베이스 이름과 컬렉션 이름이랑 일치해야 한다. (예 - API 서버의 DB 이름이 kor_dic_db 라면 몽고 아틀라스에서 생성한 DB 이름도 kor_dic_db 가 되어야 한다.)

* MongoDB 아틀라스에 데이터 저장하기

MongoDB Compass 에 연결하고 ADD DATA 버튼 우측에 Export Collection 버튼을 클릭하고 Export Full Collection 으로 데이터를 JSON 파일로 내보낸다.
내보낸 JSON 파일을 열고 전체 내용을 복사한 다음 MongoDB 아틀라스의 INSERT DOCUMENT 버튼을 클릭한 다음 복사한 내용을 붙여넣기 한다. 그러면 MongoDB 아틀라스에 데이터가 저장된다.
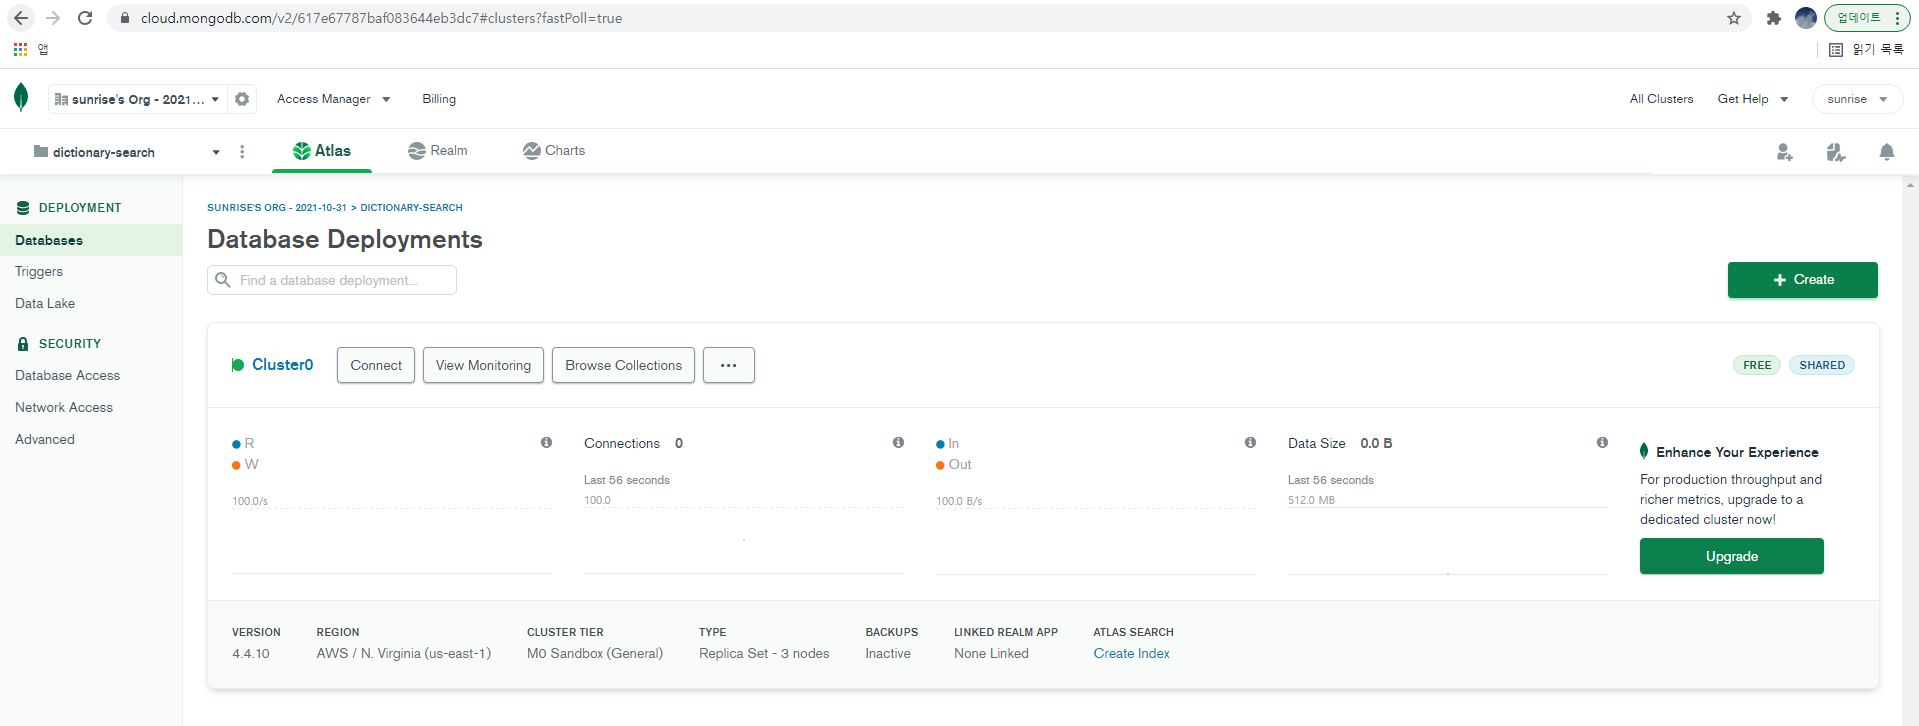
* MongoDB 아틀라스를 서버에 연결하기

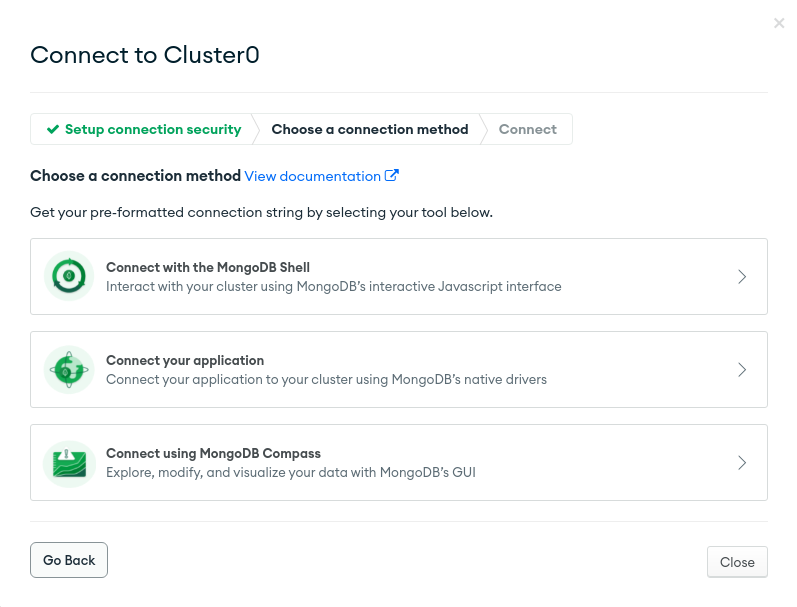
사이드바 메뉴에서 Databases 메뉴를 선택하고 화면에서 Connect 버튼을 클릭한다. 팝업화면에서 Add a connection IP address 옵션을 Allow Access from Anywhere 로 선택하고 Create a Database User 에서 데이터베이스 사용자와 비밀번호를 입력한다. (비밀번호에 @가 포함되면 제대로 동작하지 않는다.) Choose a connection method 에서 Connect your application 을 선택하고 아래와 같이 생성된 URI 를 복사한다.
const CONNECT_URL = 'mongodb+srv://[사용자]:[비밀번호]@cluster0.dqptx.mongodb.net/[데이터베이스 이름]?retryWrites=true&w=majority'위 몽고 DB 주소는 생성한 프로젝트마다 다를수 있다. 그러니 아래와 같이 반드시 다시 한번 확인하고 주소를 추가하자!

mongoose.connect(CONNECT_URL, { // Mongo DB 서버 연결
    useNewUrlParser: true,
    useUnifiedTopology: true
}).then(() => console.log("mongodb connected ..."))
.catch(e => console.log(`failed to connect mongodb: ${e}`))
server 폴더의 index.js 파일에 위와 같이 MongoDB 아틀라스에서 복사한 URI 를 CONNECT_URL 변수에 저장한다. MongoDB 아틀라스에서 생성한 사용자, 비밀번호, 데이터베이스 이름을 삽입하면 된다.
const express = require('express')
const WordRouter = express.Router()

const Word = require('../../models/Word')

WordRouter.route('/(:word)?').get( async (req, res) => {
    let words = []
    const { word } = req.params

    if(word !== "undefined" && word !== undefined){
        console.log(word)
        try{
            // words = [
            //     {
            //         r_seq: "1",
            //         r_word: "학원",
            //         r_link: "https//google.com",
            //         r_chi: "한자",
            //         r_des: "학원은 지루하다",
            //         r_pos: "포스",
            //     },
            //     {
            //         r_seq: "1",
            //         r_word: "학원",
            //         r_link: "https//google.com",
            //         r_chi: "한자",
            //         r_des: "학원은 지루하다",
            //         r_pos: "포스",
            //     }
            // ]

            // words = await Word.find({ r_word: word}) // Word 모델의 r_word 필드에서 쿼리와 일치하는 단어 검색
            // words = await Word.find({ r_word: { $regex: `^${word}`}}) // Word 모델의 r_word 필드에서 쿼리로 시작하는 단어 검색
            // words = await Word.find({ r_word: { $regex: `${word}$`}}) // Word 모델의 r_word 필드에서 쿼리로 끝나는 단어 검색
            // words = await Word.find({ r_des: { $regex: `${word}`}}) // Word 모델의 r_des 필드에서 쿼리를 포함하는 단어 검색

            words = await Word.find({ $or: [      // Word 모델의 r_word 필드와 r_des 필드에서 쿼리를 포함하는 단어 검색
                {r_word: {$regex: `${word}`}},
                {r_des: {$regex: `${word}`}}
            ]})

            // words = await Word.find({ $or: [      // Word 모델의 r_word 필드와 r_des 필드에서 쿼리를 포함하는 단어 검색후 최신순으로 정렬하고 3개만 가져오기
            //         {r_word: {$regex: `${word}`}},
            //         {r_des: {$regex: `${word}`}}
            //     ]})
            //     .sort({"_id": -1})
            //     .limit(6)


        }catch(e){
            console.log(e)
        }
    }else{
        console.log(word)
        try{
            // words = [
            //     {
            //         r_seq: "1",
            //         r_word: "학원",
            //         r_link: "https//google.com",
            //         r_chi: "한자",
            //         r_des: "학원은 지루하다",
            //         r_pos: "포스",
            //     },
            //     {
            //         r_seq: "1",
            //         r_word: "학원",
            //         r_link: "https//google.com",
            //         r_chi: "한자",
            //         r_des: "학원은 지루하다",
            //         r_pos: "포스",
            //     },
            //     {
            //         r_seq: "1",
            //         r_word: "학원",
            //         r_link: "https//google.com",
            //         r_chi: "한자",
            //         r_des: "학원은 지루하다",
            //         r_pos: "포스",
            //     },
            //     {
            //         r_seq: "1",
            //         r_word: "학원",
            //         r_link: "https//google.com",
            //         r_chi: "한자",
            //         r_des: "학원은 지루하다",
            //         r_pos: "포스",
            //     },
            //     {
            //         r_seq: "1",
            //         r_word: "학원",
            //         r_link: "https//google.com",
            //         r_chi: "한자",
            //         r_des: "학원은 지루하다",
            //         r_pos: "포스",
            //     },
            //     {
            //         r_seq: "1",
            //         r_word: "학원",
            //         r_link: "https//google.com",
            //         r_chi: "한자",
            //         r_des: "학원은 지루하다",
            //         r_pos: "포스",
            //     }
            // ]
            words = await Word.find() // 데이터베이스에서 전체 단어 검색
        }catch(e){
            console.log(e)
        }
    }
    res.json({status: 200, words})
})

module.exports = WordRouter
routes > word > index.js 파일에서 가짜 데이터는 주석처리하고 실제 데이터베이스에서 조회하도록 코드를 수정한다.
git add .
git commit -am"changed mongo db url"
git push heroku master
코드가 변경되었으니 다시 로컬 깃 저장소에 커밋하고 heroku 서버에 배포한다.
-----> Installing dependencies
       Installing node modules

       added 85 packages, and audited 86 packages in 2s

       6 packages are looking for funding
         run `npm fund` for details

       found 0 vulnerabilities

-----> Build

-----> Caching build
       - node_modules

-----> Pruning devDependencies

       up to date, audited 86 packages in 473ms

       6 packages are looking for funding
         run `npm fund` for details

       found 0 vulnerabilities

-----> Build succeeded!
-----> Discovering process types
       Procfile declares types     -> (none)
       Default types for buildpack -> web
-----> Compressing...
       Done: 34.4M
-----> Launching...
       Released v4
       https://todo-app-tutorial-1.herokuapp.com/ deployed to Heroku
git push heroku master 로 배포가 성공하면 히로쿠 사이트의 Activity 탭에 Build Log 를 확인하면 위와 같다.
heroku logs --tail히로쿠 서버가 제대로 동작하는지 한번더 확인하다.
* 클라이언트의 서버 주소 변경하기
const BASE_URL = 'https://dictionary-search.herokuapp.com/api/words'클라이언트 코드에서 서버에 접속하는 BASE_URL 을 히로쿠 서버 주소로 변경한다. 클라이언트에서 제대로 동작하는지 확인한다. 모바일에서도 확인한다. 되도록 클라이언트 코드를 깃허브에 올린 다음 깃허브 페이지에서 히로쿠 서버에 접속이 잘 되는지 확인한다.
* 히로쿠 서버 에러 확인하기
"Request timeout" H12 Heroku error tying to access MongoDB Atlas
This problem seems to be quite common but I've tried several things and I still get this error. Alright, so I'm trying to deploy on app on Heroku with my DB on MongoDB Atlas but when I'm trying a
stackoverflow.com
Connecting Heroku App to Atlas MongoDB Cloud service
To antecipate the question: do I need to get SSL support on Heroku in order to establish a connection between Heroku and Atlas MongoDB Cloud using SSL? (TSL/SSL connection is a requirement to access
stackoverflow.com
code=H12 desc="Request timeout"heroku logs --tail 에서 로그를 확인해봤는데 이러한 오류가 났다면 히로쿠 서버에서 몽고 아틀라스에 접속하려는데 몽고 아틀라스에서 히로쿠 서버의 IP 를 Block 하고 있을 수 있다.

이러한 경우 몽고 아틀라스 Network Access 메뉴의 IP Access List 를 확인해보자! 0.0.0.0/0 (includes your current IP address) 라고 되어 있으면 타임아웃 문제가 해결될 것이고 그렇지 않다면 여기서 IP 주소를 위와 같이 편집하자!
'백엔드 > 서버 배포하기' 카테고리의 다른 글
| 히로쿠에 express 서버 배포하기 (개정판) (0) | 2022.04.26 |
|---|---|
| 깃허브 페이지에 리액트 (React) 배포하기 (0) | 2021.11.09 |